I finished the tote today! I only had one misstep and it was easily corrected. I'm so stinkin' proud of this bag!
When we last left our hero....
Yesterday, I was able to create half of the diamond quilting pattern. Today, I purchased a fabric pen and marked the other half. I finished quilting the first side of the bag, then layered my second side of the bag and completely quilted it.
I must say, having a two inch wide ruler and a fabric pen makes a world of a difference. SO much easier than last night's moving-tape-fiasco!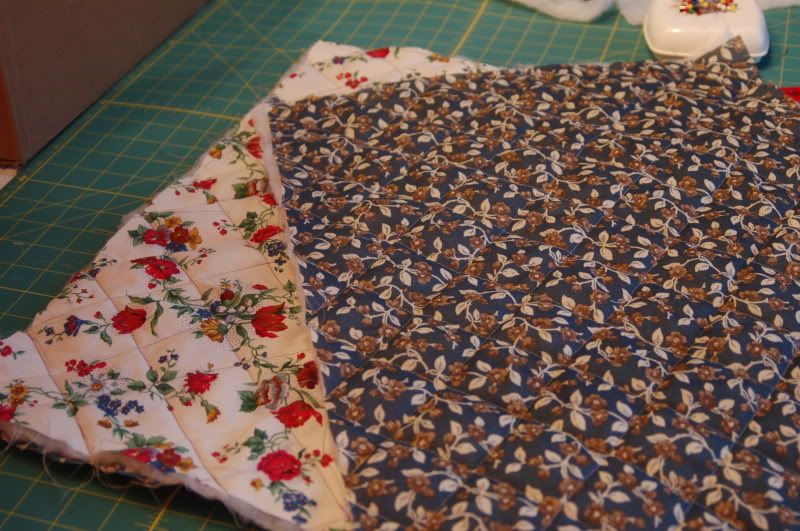
Next, you can either finish the bottom or the top. We'll start with the bottom.
Lay your front and back pieces on top of each other right sides (outer material) facing, trim your excess. Pin them together along the sides. Now, go to the bottom corners and cut out a two-inch square from each corner. This will be the base for the bottom of the bag. Because this bag is so large, I cut out a three-inch square.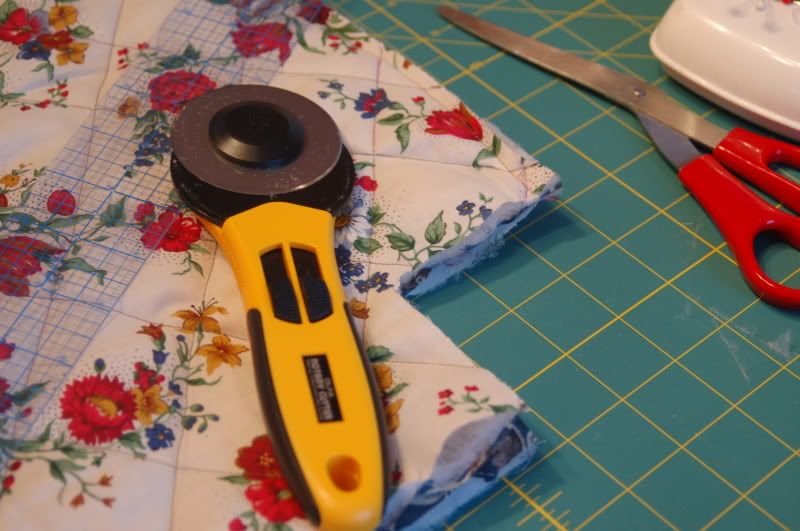
With your layers still flat, sew the bottom, remaining as close to the edge as you can. We'll finish the bottom of the bag in just a moment.
Using quilting binding, finish the top edges of the bag. Leave a little extra hanging off the edges.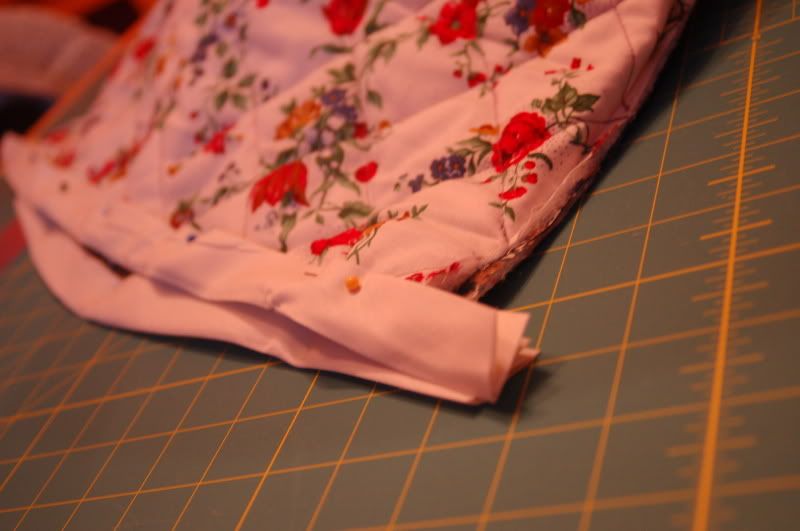
Now sew down the sides of the bag. When you're done, clip off the excess quilting binding. Remember to sew as close to the edge as you can. When you're done, it will look like this: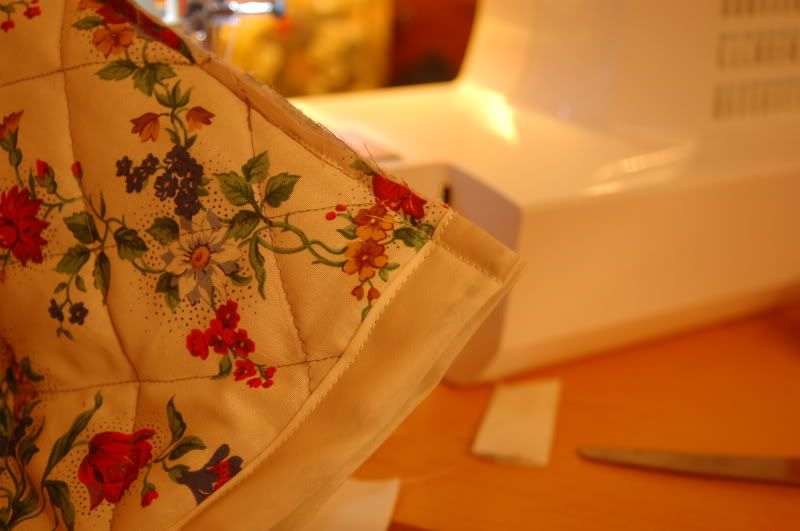
Now that the sides are assembled, we'll finish the bottom of the bag. Press the bottom of the bag "up and in" so it actually looks like the bottom of the bag. As you do this, you'll see the cut-out square edges pull together and touch each other. Pen and sew. This makes the bottom corner of your bag.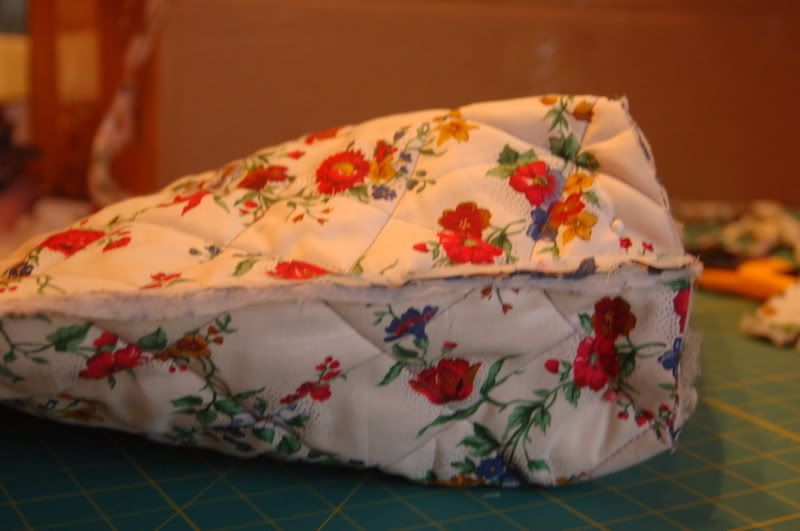
Turn the bag right-side out... voila'!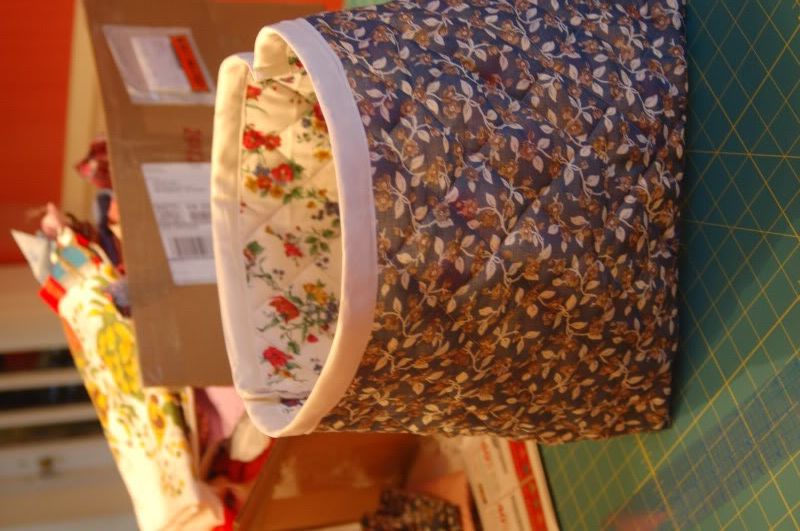
To finish the bag, sew a strap and add a button and button hole.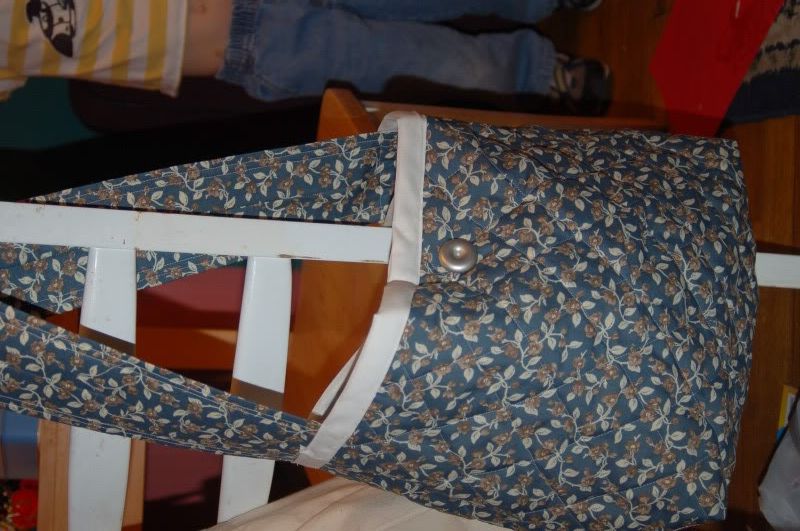
Tote Part 2
Subscribe to:
Post Comments (Atom)


0 comments:
Post a Comment