Showing posts with label Tutorial. Show all posts

Easy Fat Quarter Lap Blanket Quilt

Difficulty Level: VERY easy

Materials:

6 fat quarters
3/4 - 1 yard of fleece for backing
2 packages quilt binding
2" wide ruler
Fabric chalk or pen
Create your rows:
Iron your fat quarters so they are wrinkle free. Pair up two pieces to be side by side. Pin them, right sides together and sew 1/4" seam allowance. Iron seam towards the darker material. Continue this for the remaining four fat quarters.

Sew the rows together:
Placing right sides together, match up your center seams for your first two rows and sew them together with 1/4" seam allowance. Do the same with your final row. Iron your seams to the darker material side if possible.

Baste your top and backing together:
Crazy Mom Quilts has the best basting tutorial I've found.

Mark off your lines and sew them:
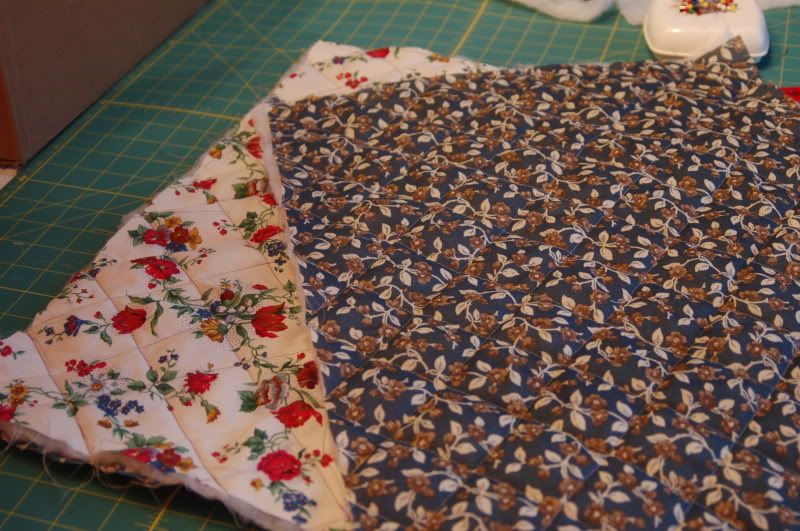
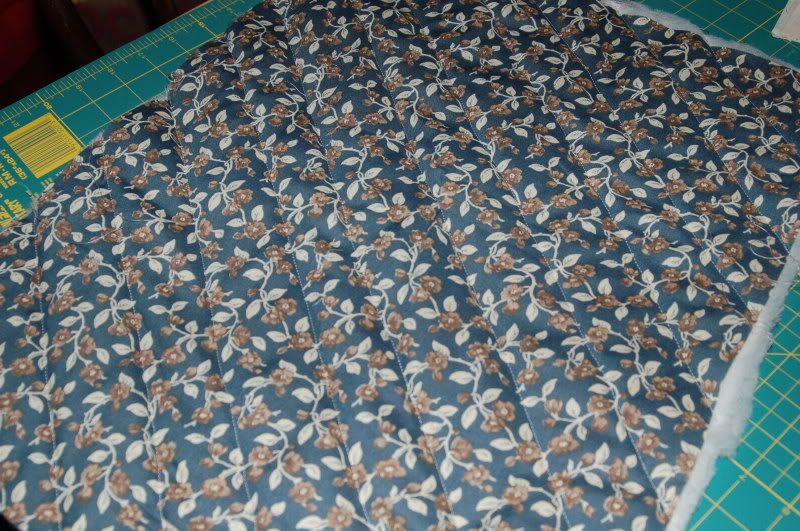
Lay out your quilt, smooth it very well and lay your ruler out diagonally. Mark that line on your material from one edge to the other. Without moving the ruler, mark the other side of the ruler so you're lines are now 2" apart. You don't have to mark the entire quilt at once. Mark as much as you want to sew at a time.

Once you have sewn all your diagonal lines in one direction, it's time to quilt the other direction. Start marking your lines again. You can have your diamonds as long or as square as you want. It's totally up to you.

Square it up and trim the excess:
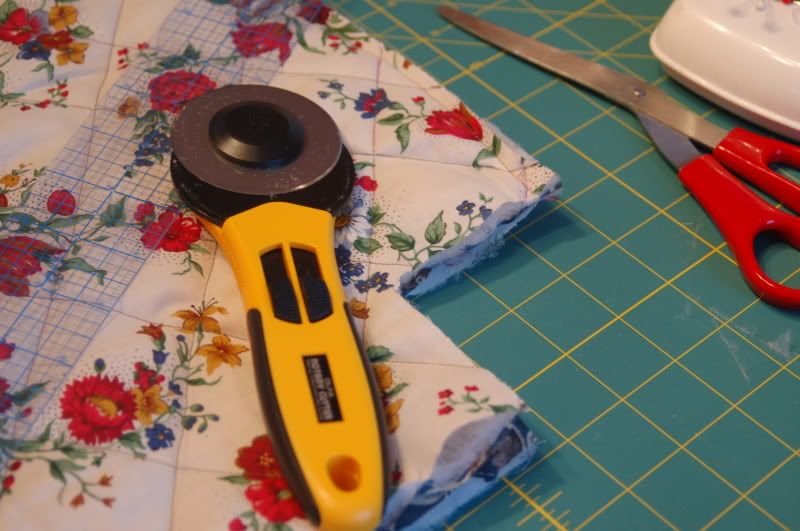
Squaring up the quilt and trimming off the excess is the hardest part for me. I don't have a great method for this yet but here's what I do. I smooth out the quilt on my table, lay out a guide ruler and use my rotary cutter to trim off a straight edge. I try to keep it even and square but mostly I guess.

Sew the binding:
You have two choices - you can purchase quilt binding or you can make your own. I've not attempted to make my own yet but I hope to do it on one of my next projects. Again, I point you to Crazy Mom Quilts for an excellent tutorial on how to make your own binding. I think a custom binding can give a quilt a nice finished look, but it's not necessary so don't beat yourself up if you use store bought binding. Pin your binding to your quilt and sew it on.

Voila'! Wash and dry it and you're done!


Readmore »»

Tote Part 2

I finished the tote today! I only had one misstep and it was easily corrected. I'm so stinkin' proud of this bag!

When we last left our hero....

Yesterday, I was able to create half of the diamond quilting pattern. Today, I purchased a fabric pen and marked the other half. I finished quilting the first side of the bag, then layered my second side of the bag and completely quilted it.

I must say, having a two inch wide ruler and a fabric pen makes a world of a difference. SO much easier than last night's moving-tape-fiasco!


Next, you can either finish the bottom or the top. We'll start with the bottom.

Lay your front and back pieces on top of each other right sides (outer material) facing, trim your excess. Pin them together along the sides. Now, go to the bottom corners and cut out a two-inch square from each corner. This will be the base for the bottom of the bag. Because this bag is so large, I cut out a three-inch square.


With your layers still flat, sew the bottom, remaining as close to the edge as you can. We'll finish the bottom of the bag in just a moment.

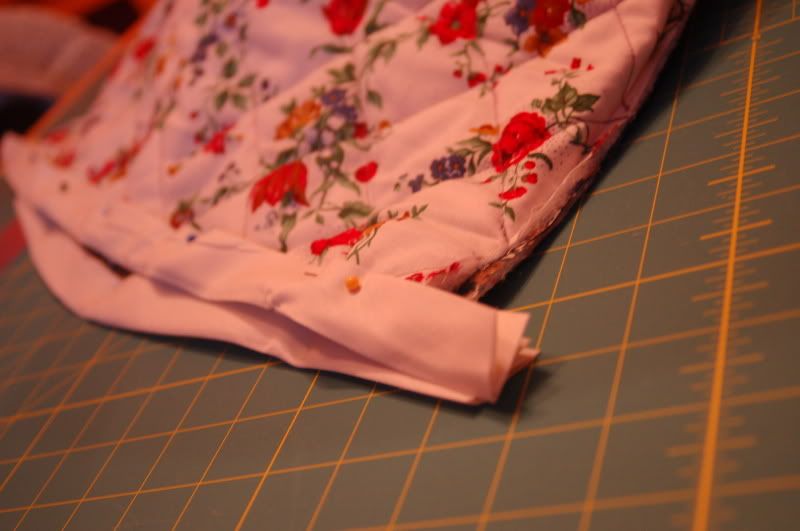
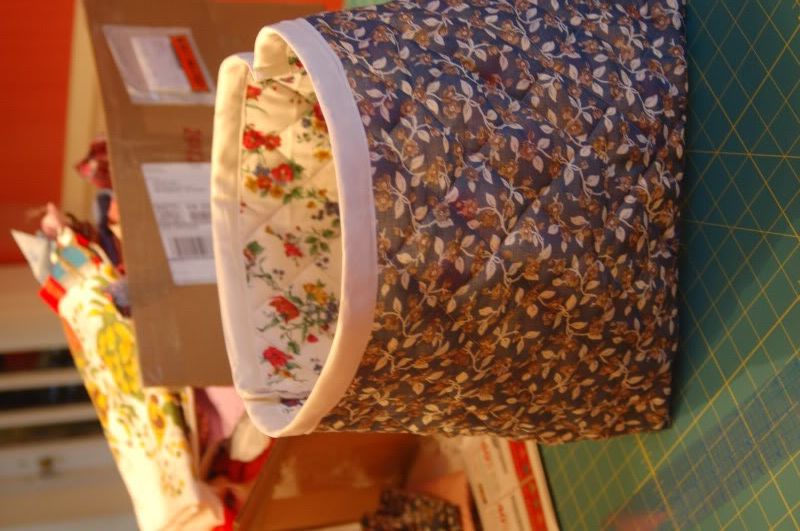
Using quilting binding, finish the top edges of the bag. Leave a little extra hanging off the edges.


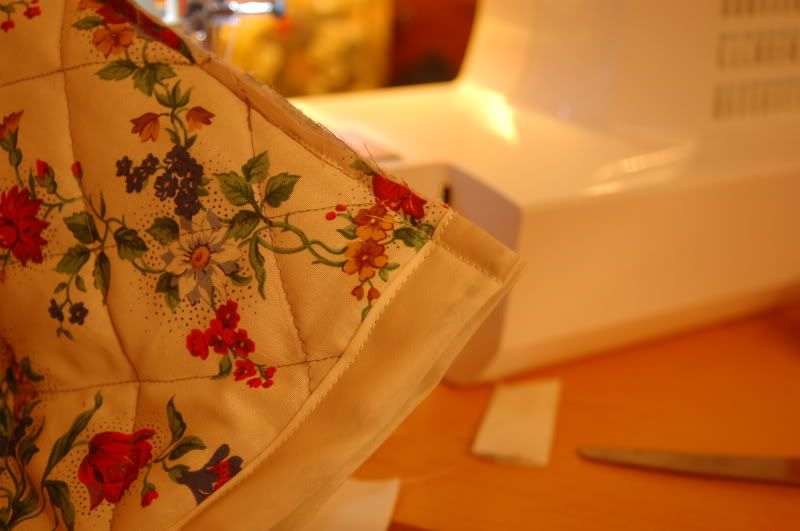
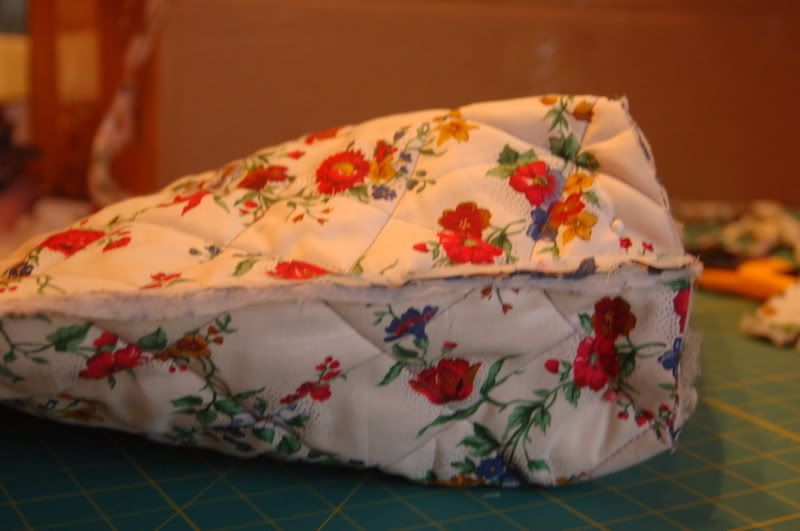
Now sew down the sides of the bag. When you're done, clip off the excess quilting binding. Remember to sew as close to the edge as you can. When you're done, it will look like this:


Now that the sides are assembled, we'll finish the bottom of the bag. Press the bottom of the bag "up and in" so it actually looks like the bottom of the bag. As you do this, you'll see the cut-out square edges pull together and touch each other. Pen and sew. This makes the bottom corner of your bag.


Turn the bag right-side out... voila'!


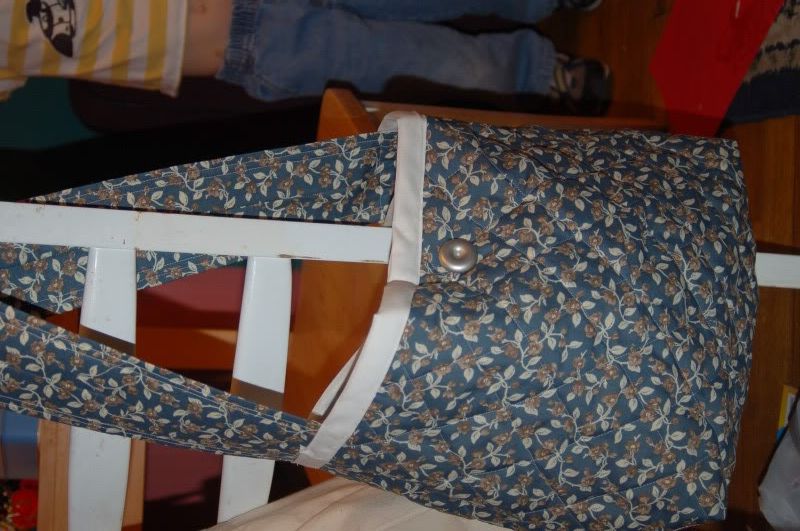
To finish the bag, sew a strap and add a button and button hole.

Readmore »»

Moving tape for... quilting? Tote Part 1

Tonight, I embarked on yet another new sewing project - a quilted tote bag/purse. My good friend Stephanie made one this morning before my very eyes..... and I was impressed. Impressed enough to copy her! I really appreciated her help and instruction; she got me excited about quilting and made it look so easy. She's slick like that. I came home and decided to make a tote for my mother-in-law for Christmas. I'll take you through it step by step.

After ironing my fabric, I cut four rectangles the same size. Actual dimensions don't really matter, but it needs to be large enough to hold a wallet and a few other things. I cut two rectangles of two different materials. Then I cut two pieces of batting the same size as my fabric. I can now make a quilt sandwich: layer my materials wrong side up, batting, right side up.


I had to use two pieces of batting. I'm hoping it doesn't make my quilting too lumpy.

Well. Lumpier than it will already be. I have lump issues.

Okay. After the layering, I pinned all the way around the edges, smoothing the material as I went to try to eliminate lumpy shenanigans. Then, things got a bit wacky.

See, at 2am this morning, my daughter woke up and wouldn't go back to sleep. During the hours of 2 and 5 am, I spent a lot of time clicking around the internet. I was researching quilting and looking for tips and tricks. Tonight, I realized that without some ingenious thinking, I would be at a standstill. My fabric pencils were worn down and we don't have a pencil sharpener. The fabric pen I swiped from my mother's house is out of ink. I was using my kids' sidewalk chalk but it's so bulky and doesn't give a precise line. Then all that internet clicking at 3:30 in the morning paid off!

Someone, somewhere posted that she used painter's tape to mark her quilting lines. Painter's tape is two inches across so it would work as a great guide.

I pulled out my handy, dandy moving tape gun and got to work.


It worked pretty well! It wasn't as easy to stay precise and straight as marking with pencil would have been, but desperate times and all that...

It was easy to pull the tape off and it provided a decent guide. But I'll still be heading to the store tomorrow to get a pencil sharpener and some more pens.

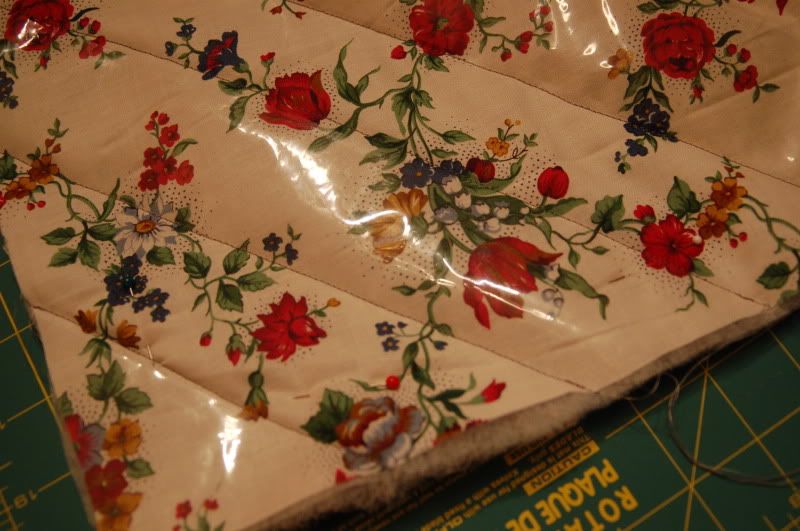
Here's the finished quilting. It's almost midnight and I'm sure my daughter will be waking me up in a few hours so I'll do the other fabric sandwich tomorrow.


Readmore »»